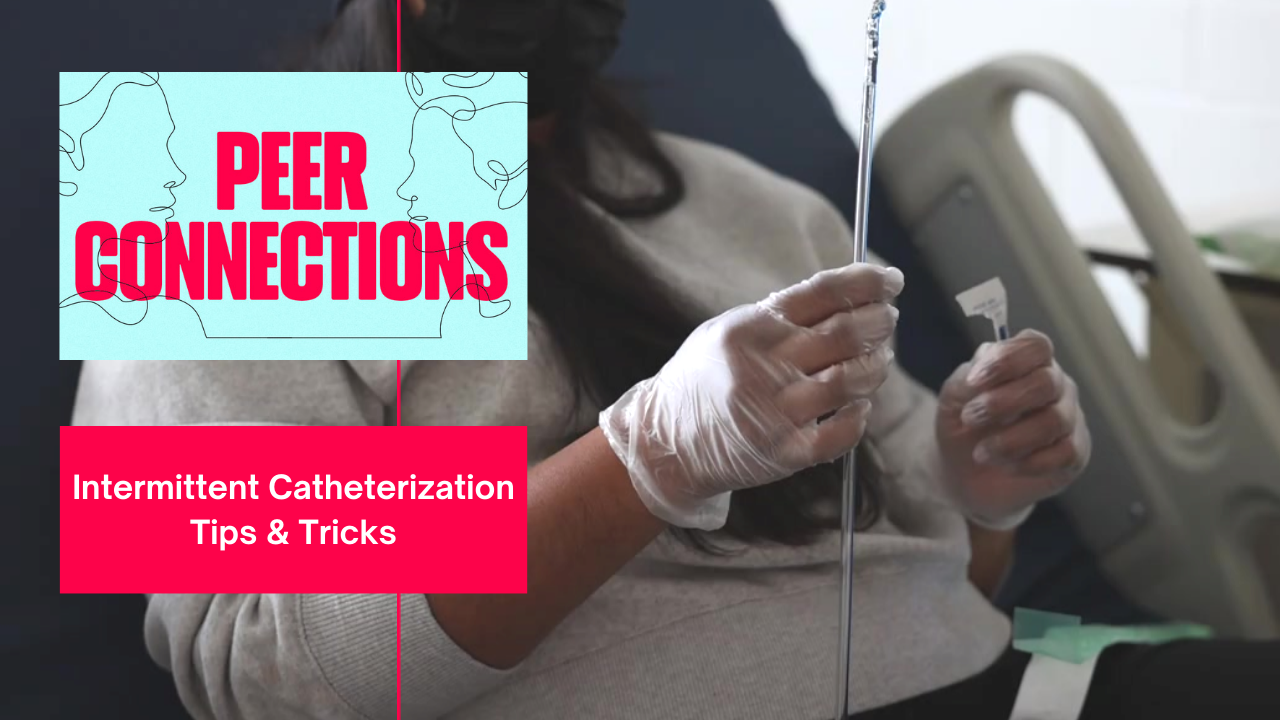
This video demonstrates how to use the gauze pad and landmarking techniques to help increase your precision when locating the urethra for catheter tip insertion. This is a demonstration of how one person does self-catheterization; because everyone is different, your level of function and ability, as well as input from your healthcare team will help you determine what works best for you.
This is Michel. After complications from spinal surgery Michel was diagnosed with complete partial paraplegia on the left side at the level T11. The injury impacts her bowel and bladder, and Michelle does intermittent catheterization to pee.
The first step of self-catheterizing, no matter what your physical positioning or the setting you’re in, is to ensure your hands, pelvic area, and catheterization supplies are kept as bacteria free as possible. Make sure you have all the supplies within reach before you begin. You may not always have access to a setting you know is perfectly clean, like when using washrooms in a public space. There are still best practices you can follow to help limit your exposure to bacteria, including cleaning your hands after touching anything but yourself or your supplies.
The advantage of using the gauze technique is that you’re working with only an inch-and-a-half of catheter, instead of the entire catheter length. This provides you with more precision steadying and guiding the catheter tip. Using the gauze and landmarking techniques together can help prevent irritation caused by misaimed catheter tip poking and can be an effective way to locate the urethra and insert the catheter. The gauze and landmarking techniques can be used anywhere you’re self-catheterizing.
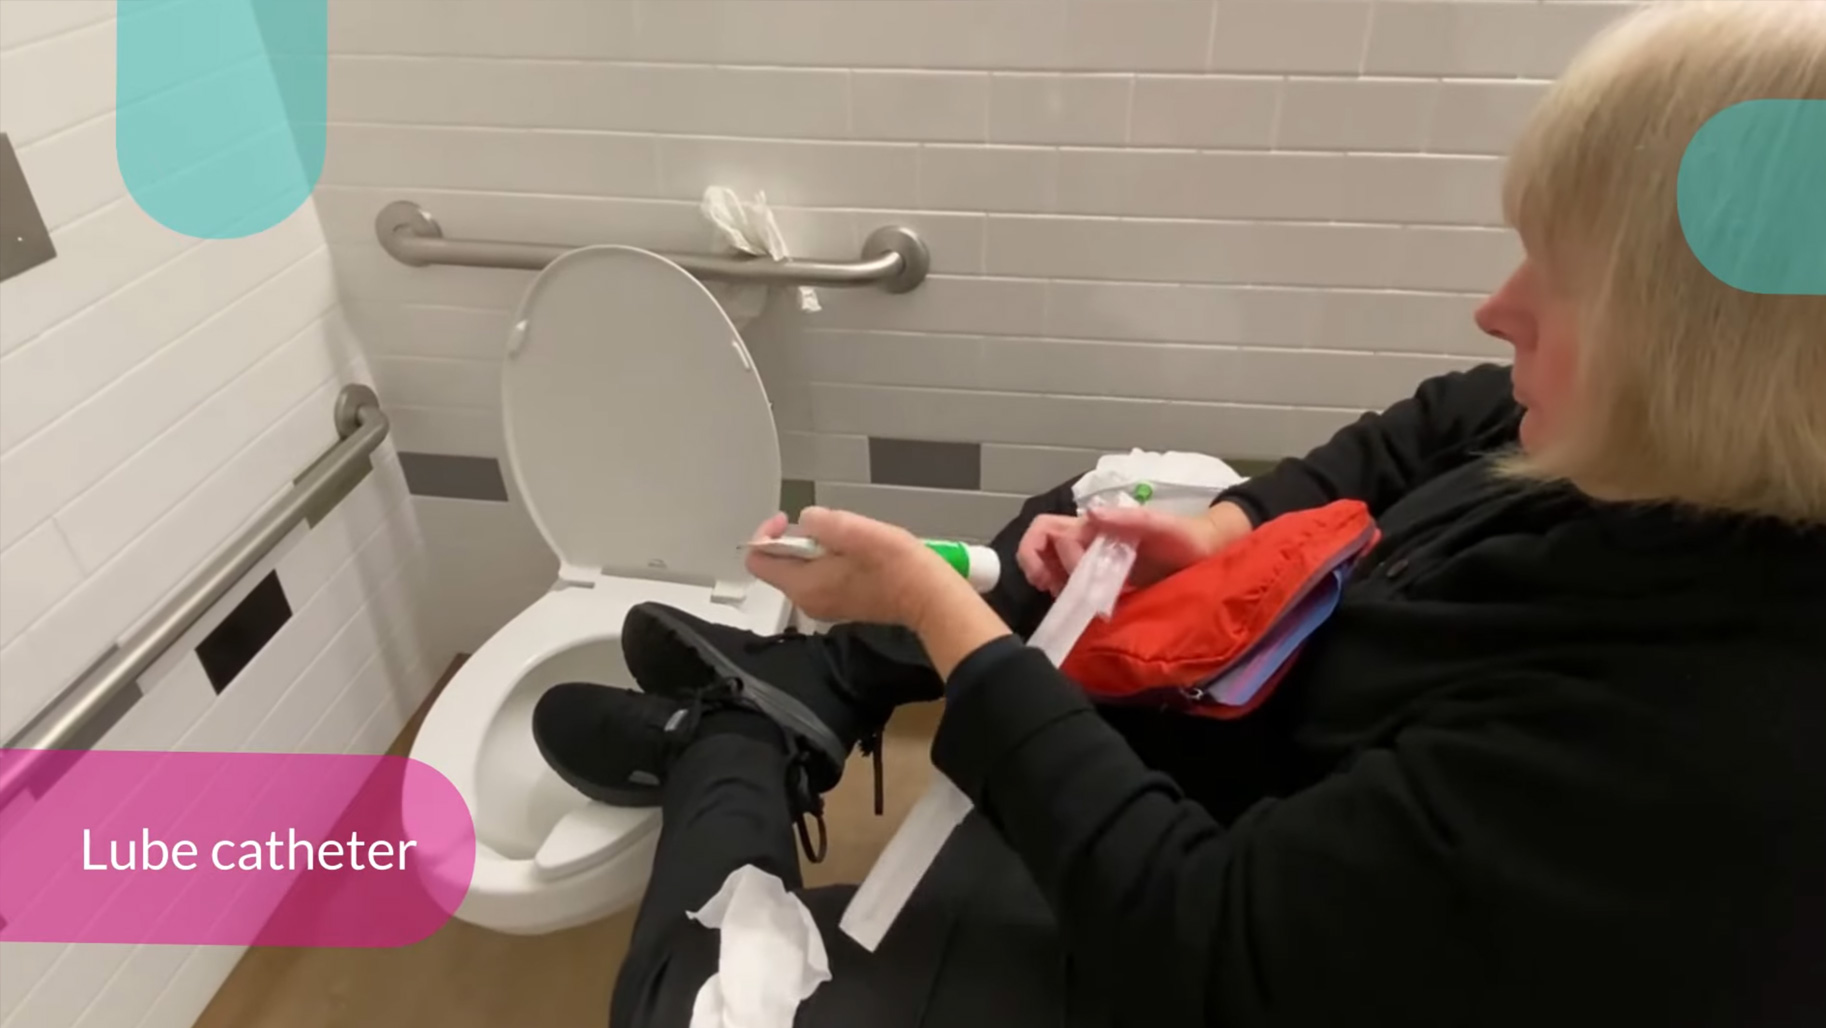
After entering the washroom wash your hands and then find the cleanest and most convenient place to lay out all your catheterization supplies. Open the catheter package. This is easiest to do if you pull the front of the package away from the back. Then open the sterile gauze. Place it with the other supplies, making sure you have easy access to the wipes too.
Slide your pants down far enough that you’re able to get your knees apart. Then, with the catheter and gauze still in the packages, balance them on your leg. Open the 3 wipes. Using a front to back motion, wipe your pelvic area: once on each side and once down the middle. Pick up the catheter by the top end of it and remove it from the packaging. Remember, since you’re working with clean catheter supplies, be sure you’re not touching anything else before you do that, other than yourself.
Now you’re ready to use the gauze and landmarking techniques to guide the catheter tip. Taking the square of gauze, put it about one-and-a-half inches from the insertion end of the catheter. Then use your non-dominant hand to landmark where the opening to your urethra is. This is the opening below the clitoris and above the vaginal opening. Guide the catheter tip by using your finger’s proximity to the urethra. When inserting the catheter be sure to never insert it more than 1 or 2 cm past the point urine begins to flow.
Make sure the catheter is aimed downwards into the toilet. Remove the catheter once the flow of urine stops and cap it with your finger or kink it. After cleaning yourself and your supplies you can dispose of any waste.
We hope you enjoy this video series and watching these demonstrations. If you have any questions about what you learn, be sure to reach out to your healthcare team or service and resource providers like Spinal Cord Injury Ontario.
We would like to acknowledge and thank the people with lived experience who contributed their insights and tips to the development of this video series:
- Lubna Aslam, former Spinal Cord Injury Ontario staff
- Jaspreet Dhaliwal, Peer Support Program Coordinator, Spinal Cord Injury Ontario
- Michel LeFeuvre-Watson
- Jacqui Kinahan, Peer Support Volunteer, Spinal Cord Injury Ontario
- Nancy Xia, Video Content Developer, Spinal Cord Injury Ontario
- Julie Watson, Peer Support Program Coordinator, Spinal Cord Injury Ontario
We would also like to thank UHN Toronto Rehab – Lyndhurst Centre staff who provided clinical subject matter expertise, source content and expert review of this video series:
- Sandra Mills, Patient Education and Engagement Lead, UHN – TRI Lyndhurst Spinal Cord Rehab Program
- Hannah Hollett, Clinical Coordinator Intrathecal Baclofen Program, UHN – TRI Lyndhurst Spinal Cord Rehab Program
- Dr. Cathy Craven, BA, MD, MSc, FRCPC, FASIA. Physical Medicine and Rehabilitation, Toronto Rehabilitation Institute Chair in SCI Rehabilitation; Medical Director , Spinal Cord Rehabilitation Program, UHN; Senior Scientist, KITE Research Institute, University Health Network; Professor, Department of Medicine, University of Toronto.


